Sunday 26 March 2017

Believe In Fairies Home Decor - Sin City Design Team

Hello Crafty Girls,
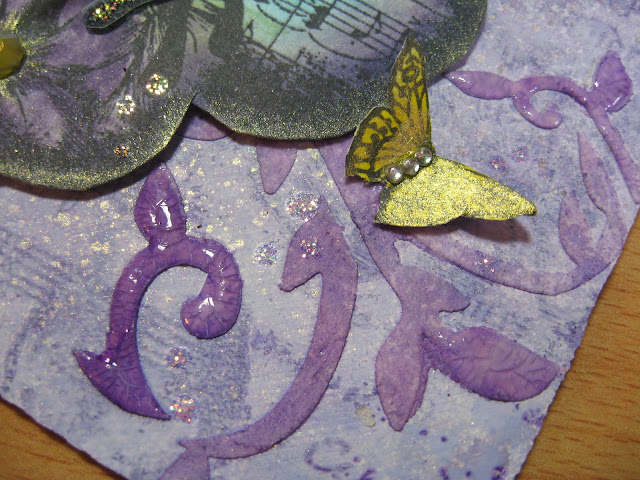
Today to share my hanging Spring plaque.  I bought an inexpensive Christmas decoration in the after Holiday sales. I didn't mind that it was ugly and poorly painted because I knew that I would be covering that design and transforming it completely. Now let me present my new springtime decoration featuring the lovely fairy & flower stamps from Sin City Stamps...sorry only a peek.
 
You can find the complete step by step tutorial HERE.

Supplies:
1. Fairies Blossoms 2 Stamp Set
2. Inhale Exhale Art Stamp Set
3. Art Journaling 2 Stamp Set
4. black pigment ink pad / black permanent ink pad
5. purple dye ink pad
6. gold & purple pigment ink pad
7. transparency / white cardstock
8. glitter glue
9. liquid adhesive / gold micro beads
10. watermark ink / embossing powder / heat gun / chipboard word
11. ribbon / mini gems
12. white acrylic paint / sponge brush
13. stencil
14. texture paste
15. purple & gold spray mists
16. clear crackle paint

Sin City Stamp Sets


To purchase these beautiful stamps, visit www.sincitystamps.com

For more inspiring paper-craft projects from the Design Team, be sure to visit us at
The Sin City Stamps Blog and follow us on Facebook.

Thanks for visiting!

Saturday 25 March 2017

Beauty in Gold Layout with Rinea Double Sided Foiled Paper

Hello Ladies,
I usually think that metallic papers are best left for Christmas crafting but I went out of my comfort zone and used beautiful gold foil prominently on a scrapbook layout. Using a BW photo and minimizing the numbers of colors really allowed the gold to take center stage.  I adore how it came out.  Let me show you how I created this elegant layout, as well as, share a few tips along the way.

Join me over on the Rinea Blog HERE for a step by step tutorial.

A little peek...

Rinea Supplies: Rinea Paper-Foil 10-Pack 15cm x 25cm (Gold)

To purchase the beautiful double sided gold foil, visit Rinea.

Other Supplies: double sided tape, Floral Whimsical Embossing Folder (Darice), Ebosser Die Cutting Machine (Craftwell), Black Glitter Cardstock, Black Cardstock (The Robin's Nest), Gold Metallic Dew Drops (The Robin's Nest), Gold Glitter Journaling Tag (The Robin's Nest), Gold Straw Fibers (The Robin's Nest), Craft Knife, 3" Circle Paper Punch, Puffy Sticker Embellishments (Paper House), photo 4x5"


For more inspiring paper-craft projects from the Rinea Design Team, be sure to visit us at the 

Rinea Blog and follow us on Facebook.


Thanks for visiting!

Thursday 23 March 2017

Day of the Dead Blog Hop - Sin City Stamps

Hey, don't miss out on the, Day of the Dead Blog Hop.  Sin City Stamps is holding a
a special hop featuring projects using the new set of Sugar Skulls.  Come celebrate the Day of the Dead and check it out.  You could win some great prizes!  The hop will end on March 27th and the three winners will be announced on March 28th.


Blog Hop starts
 HERE.


Tuesday 21 March 2017

Craft Stamper Take It Make It March Challenge

There is still time to join the Craft Stamper - March Challenge
because as long as your project includes stamping..."Anything Goes."  Projects can be a card, layout, journal page, art panel, tag, 3D item, anything at all, as long as it follows all guidelines and of course includes actual stamping.

My project is a vintage style friendship card. I created the background with layers of overlapping masking tape which adds a beautiful subtle wrinkly texture. The paints accentuate all the crevices and is a very effective way to create an aged look so it is very versatile for any vintage & distressed project.

Supplies:
1. Birds Clocks Rubber Stamp Set (Sin City Stamps)
2. Flower Bird Sketches Stamp Set (Sin City Stamps)
3. Inhale Exhale Art Stamp Set (Sin City Stamps)
4. white cardstock
5. black ink pad
6. masking tape
7. sponge applicator
8. paint - yellow
9. white crackle paint
10. gold mist
11. liquid adhesive
12. gold micro beads
13. gold brads

A Closer Look:
 
Deadline - March 29th
You can see the guideline to enter  HERE.

Sunday 19 March 2017

Vellum Wedding Card Video - The Robin's Nest

Today I'm sharing an elegant wedding card using The Robin's Nest Glitter Swirl Vellum and lovely pearl white Dew Drops. This design is also perfect to celebrate anniversaries. I have made a short instructional video to guide you through the steps.
You can see the video HERE.

The Robin's Nest Supplies:

Iridescent Classic Glitter Swirl Vellum, White Pearl Dew Drops, Dew Dew Glue
Other Supplies: white cardstock, cardbase 6x6", vine edge die, script love die, die cutting machine, Silver Paper Foil (Rinea)

To purchase the beautiful vellum for this card, visit The Robin's Nest.
For more inspiring paper-craft projects from the Design Team, be sure to visit us at The Chattering Robin's Blog and follow us on Facebook.

Thanks for visiting!

Sunday 5 March 2017

Baby Bird Springtime Birthday Card - The Robin's Nest

It's Sneak Peek Time!!!
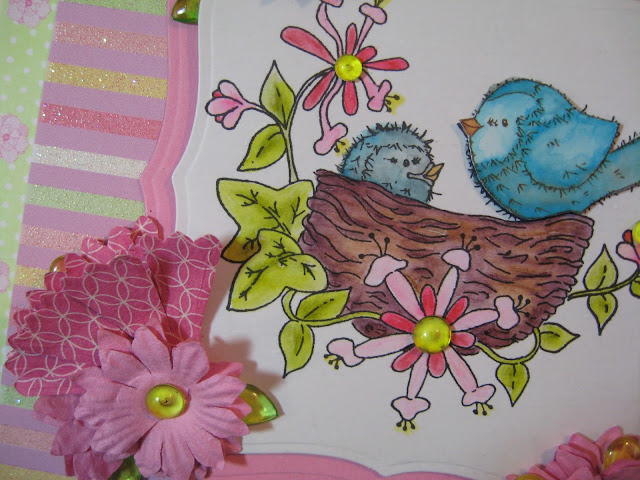
Today on the Chattering Robin's Blog you will find my step by step tutorial to create this sweet springtime card.  The yellow Dew Drops are the perfect finishing touch for the flowers and really help bring the card to life.
You can find my tutorial HERE.

www.shop.robinsnest-scrap.net

Other Supplies: pink & white cardstock, bracket die, clear mounting block, N'wood Bird Clear Stamp (Trimcraft), Jet Black Archival Ink Pad (Ranger), H20 Waterbrush (Kuretake), watercolor paints, Scallop Edge Paper Punch (EKsucess), paper flowers, sentiment sticker (Anita's)
 
To purchase the lovely spring papers & embellishments, visit The Robin's Nest.
 
For more inspiring paper-craft projects from the Design Team, be sure to visit us at
The Chattering Robin's Blog and follow us on Facebook.

Thanks for visiting!
Friday 3 March 2017

Embossed Rinea Paper Foil Card Backgrounds


I just love embossed papers and I use them all the time in my crafting. The subtle textures add wonderful layers. I couldn't wait to try Rinea Paper Foil because I knew it would be just beautiful when embossed. Once I started embossing, I couldn't stop and now I have a nice selection of embossed foils ready to go. Make sure you look for my post later this month when I share a scrapbook layout featuring elegant gold embossed foil.  Here are the girlie cards I made with Rinea's Blush Foil.


Once I started embossing, I couldn't stop and now I have a nice selection of embossed foils ready to go.  Make sure you look for my post next week when I share a scrapbook layout featuring elegant gold embossed foil.

Card 1: Fabulous Flourish & Fairy Birthday Card

Directions:
1. Place a piece of foil into the embossing folder and send it through the die cutter.
2. Embellish the background with mini gems. Use a permanent white marker to highlight parts of the pattern. Stamp a border onto transparency and attach it over the embossed foil.
3. Attach the embossed foil to the card base and cut off any excess overhanging foil.
4. Stamp a central focus image. Color, fussy cut, and mount with foam tape.  Add a sentiment.

TIP: Apply glitter glue in the recessed areas to add contrast within the embossed pattern.

Card 2: Fabulous Fashion Birthday Card 


Supplies: Crafters Glossy Pack: Rinea Paper-Foil 10-Pack 15cm x 25cm (Blush)

Other Supplies: double sided tape, Butterfly Corner Embossing Folder (Darice), Vine Embossing Folder (Darice), die cutting machine, mini gems, tulle, sentiment sticker, transparency, Black Permanent Ink pad, Fairy Stamp, Lace Border Stamp, High Heels Stamp, Dress Stamp, pink cardstock, double sided tape, card base 6x6"

Paper Foil is available from Rinea.

For more inspiring paper-craft projects from the Design Team, be sure to visit us at the Rinea Blog and follow us on Facebook.