Saturday, 30 January 2016

Love Sign with Robin's Nest

I'm sharing a Valentine's home decor project over on the Chattering Robin's Blog
and I'd love to share a sneak peek with you here.


Sneak peek of my Love Sign!

I embellished a pre-made sign with Robin's Nest gems & paper.  Their unique style of gems are known as Dew Drops and they come in an enormous range of colors, sizes, & shapes.  My project features, Heart Dew Drops, Diamond Dew Drops, as well as, Round Dew Drops. 
Robin's Nest Supplies: Valentine Hearts Cardstock, Round Dew Drops, Dew Dew Glue, Diamond Dew Drops, Rosy Flower Die Cuts, Hearts Dew Drops
Other Supplies: wooden or paper mache shape, red glitter, double sided tape, black acrylic paint, foam brush, photograph

To see the complete set of directions for this project, go to the Chattering Robin's Nest.

To find more fabulous Robin's Nest products, visit their shop HERE!


Wednesday, 20 January 2016

Winter Birthday Party

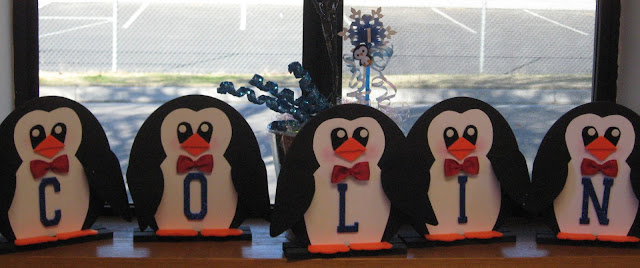
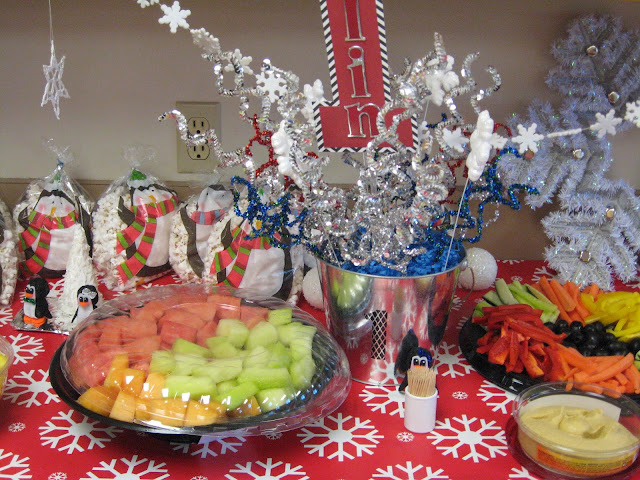
My little nephew turned one in December and my sister wanted to host a penguin theme birthday party for family & friends. I was assigned decorating duties which I was thrilled to do. I've been thinking winter themes since early September to transform a dull community center hall into Winter ONE-derland.  
                                   Door Decoration

 
Table Centerpiece


Snowflake Chandeliers

Wooden Penguins


Winter Buffet Counter


Popcorn Penguins & Edible Snow Trees
 
Decorated Juice Boxes

 Hanging Snowflake Decor
  Inflatable Penguin, Kid's Play Tent, & Penguin Books

 
Kid's Party Bag
   
Penguin Cupcakes!!!


 High Chair Decoration:

Birthday Bunting

1st Birthday Buffet Decor
Thanks for visiting!


Sunday, 10 January 2016

Almost One Layout - YouTube Video

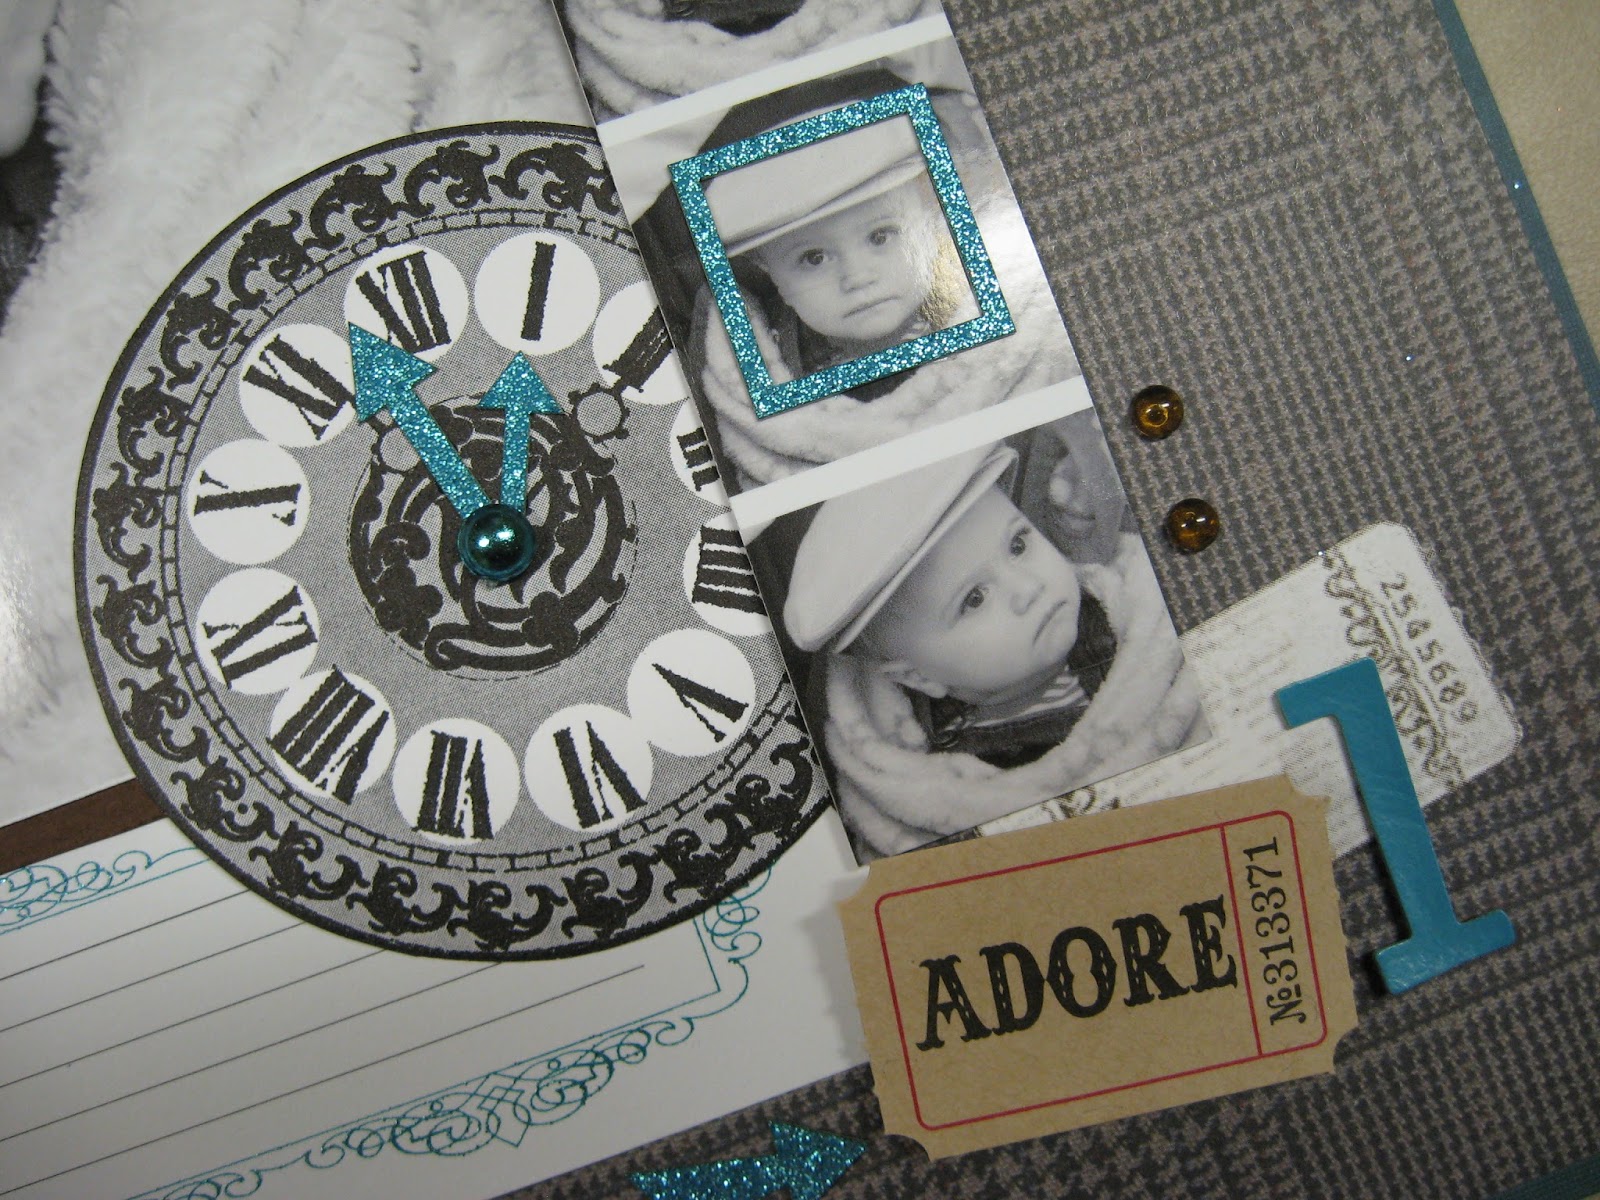
Here is a sneak peek of my first project for Robin's Nest. You can check out the VIDEO for a step-by-step look at how I created it. I also share a great tip for how to have perfect title placement that avoids frustration & disappointment. 


A Closer Look: 


Robin's Nest Supplies: Mens Plaid Cardstock, Black & White Clock CardstockOriginal Ribbon, Dew Drops, Dew Dew Glue, Lodge Cutout Cardstock, Teal Glitter Arrow Chipboard Embellishments, Teal Glitter Journaling Blocks

Other Supplies:
cardstock (teal, brown)
embellishments - clock, ticket, chipboard letters

Visit The Robin's Nest to see all their fabulous products.

Tuesday, 5 January 2016

Scrap n' Art Magazine - January 2016

The newest online addition is now available to download. 

Stop by Scrap n' Art

There are some fabulous submissions this month that you won't want to miss. They have a very talented group of ladies and you will simply love the projects. I have one featured project in the Reader's Submission section. Here is a sneak peek.  


Sunday, 3 January 2016

BIG News!

I have exciting news to share! I have been selected for...The Robin's Nest Design Team!

Friday, 1 January 2016

Monday, 28 December 2015

Up Up & Away!

When you think you have seen every type of "super hero" imaginable, I hope my layout brings you a pleasant surprise. My little nephew had the most adorable hick ups (regularly) when he was a newborn and I made this page to honor his cuteness.


Directions:
1. Select two sheets of cloudy sky paper for the background. Matte the central photo on blue cardstock and then arrange the photos on yellow cardstock.

2. Cut frames for three small photos using red and blue cardstock. Next, fussy cut three comic style exclamations from the hero paper and arrange around the layout.

3. Create a city skyline by making a row of sky scrapers along the lower edge. Adhere clouds and sun to the upper portion of the layout. Incorporate the journaling into the layout by adding it to one of the clouds. When adhering the buildings and clouds, mount some of them on foam tape to create depth.

4. Finally, embellish the layout with an eye-catching scattering of arrows and stars across the two pages. Use a star shaped paper punch to make star embellishments from coordinating paper. Lastly, embellish the layout with additional items like puffy stickers, die cut shapes, and rub on transfers.

Supplies: ColorWays Celestial 12" scrapbook paper (Paper House), Happy Birthday Boy 12" scrapbook paper (Paper House), Baked With Love 12" scrapbook paper (Paper House), Sapphire Accent Pack (Paper House), Be Happy Rub On Transfers (Paper House), Explore Puffy Stickers (Paper House), city buildings paper (Fido #1739 - GCD Studios), chipboard star, mini star paper punch, charm, black permanent pen

A Closer Look:


TIP: I especially enjoy using arrows as embellishments as they add a sense of movement and direction to the layout. Having an embellishment extend through both pages helps to link them and systematically lead the viewer's eye around the layout.

Visit Paper House to see their whole range of coordinating papers & embellishments.