Sunday, 16 December 2012

Card Sketch

Practical Scrappers card sketch challenge is up today.  Go visit them and see how the design team has been inspired from the sketch.  You'll find lots of inspiration to make your Christmas cards.

The PS sketch


For this card, I used a little of everything.  I recycled a store bought Christmas card to make the tree.  I used 6 different stamps, gold glitter & black embossing powders, washi tape, 2 ribbons, 1 sequin, & 1 gem.
(I nearly said "and a partridge in a pear tree!")

Saturday, 15 December 2012

With Sympathy

I send my most heartfelt sympathy to the families, friends, witnesses, & community who suffered such devastating loss yesterday after the tragedy at Sandy Hook School in Newtown, Connecticut.

Sunday, 9 December 2012

Button Wreath

Hi, Today I’m sharing a fun button wreath that could be a tree ornament, card embellishment or a great gift topper for a crafty friend.

Supplies:
12 buttons (½ - ¾ in)
18 in wire (26 gauge)
wire cutters & scissors
ribbon
gems, holly, charms, jingle bells etc
hot glue gun

Directions:
1. arrange your buttons in a pleasing manner varying color and size
2. thread one button onto the wire leaving 5 in of wire at the end
3. thread wire through the second hole pulling slowly to avoid the wire twisting and getting kinks; stop frequently to readjust the wire. (this is the most difficult part to get right)
4. thread another button and slide it down to the previous button
(buttons should overlap slightly alternating over & under)
5. After you have threaded all 12 buttons on the wire, form a circle and thread the wire back through the first button’s hole. (it will have 2 pieces of wire passing through the holes)
6. Both wires should be on the back of the project so you can twist the wire ends together to secure the wreath.
7. Create a bow for the wreath and use the wire ends to secure it.
8. Attach an embellishment (jingle bell, gem, or charm) in the center of the bow (attach with a hot glue gun if your wire ends are not long enough.)
9. Twist wire ends together, trim off excess, and discreetly bend wire ends down on the back of the wreath.
10. Thread a piece of ribbon or floss through the top button to hang.


As you can see, it is easy to get carried away once you try making these! 
Here is how our display looked for our Christmas Sale for charity.

                             Happy Holidays!

Sunday, 2 December 2012

Christmas Wreath


Hello Crafters, 
I am sharing a quick and simple Christmas wreath made with strips of fabric and no sewing involved. (perfect for the craft room door!)


Supplies: fabric, pinking sheers, wreath base ring, ribbons, buttons, Christmas embellishments, buttons, jingle bells etc


Directions:
1. Cut strips of fabric with pinking sheers.
2. Tie each fabric strip onto the wreath base ring keeping them close together in order to cover the wreath base ring completely. (Even the kids could help.)
3. Continue adding strips until the desired fullness is achieved.
4. If you have some strips that are uneven, just give them a quick trim at the end.
5. Decorate with a bow and other Christmas embellishments.
6. Tie a piece of ribbon at the top to hang the wreath.

(These basic directions can be used to make any size wreath. Therefore, you will have to decide the appropriate size fabric strips for your chosen wreath base.)

Helpful Hints:
For my wreath base ring, I used an empty cardboard reel of double sided tape. You can use a Styrofoam wreath or sturdy wire ring. Because you are tying fabric around the wreath ring, a thinner ring is best. The wider the ring is the longer the fabric strips will need to be. If you are being frugal, you could cut a ring from a sturdy bit of cardboard. I used a base ring 3.5 inches which made the finished wreath 7 inches. My fabric strips were .75 inches by 4.5 inches. I used four shades of solid green fabrics but you can incorporate patterned fabric too. Any lightweight fabric would work well. (burlap & corduroy are not recommended as they are too thick) I suggest using a variety of colors & textures of fabric to give the wreath more dimension. This is a good opportunity to use up small fabric scraps or even recycle that blouse that got a stain on it. I also tied ribbon strips alternating among the fabric strips. You could even incorporate other trims like rick rack for a fun twist. I used buttons as berries but you could easily add jingle bells or other small embellishments.

Hopefully, you will see the unlimited potential to make a variety of seasonal wreaths by combining different fabrics. Happy Crafting!

Wednesday, 21 November 2012

Thanksgiving Cards

A few simple cards to give thanks to all the wonderful people in your life. I repeatedly stamped a sunflower design and selectively colored only one image. A gingham ribbon was the perfect finishing touch.
Blessings to you!

Tuesday, 20 November 2012

Recycled Christmas Cards

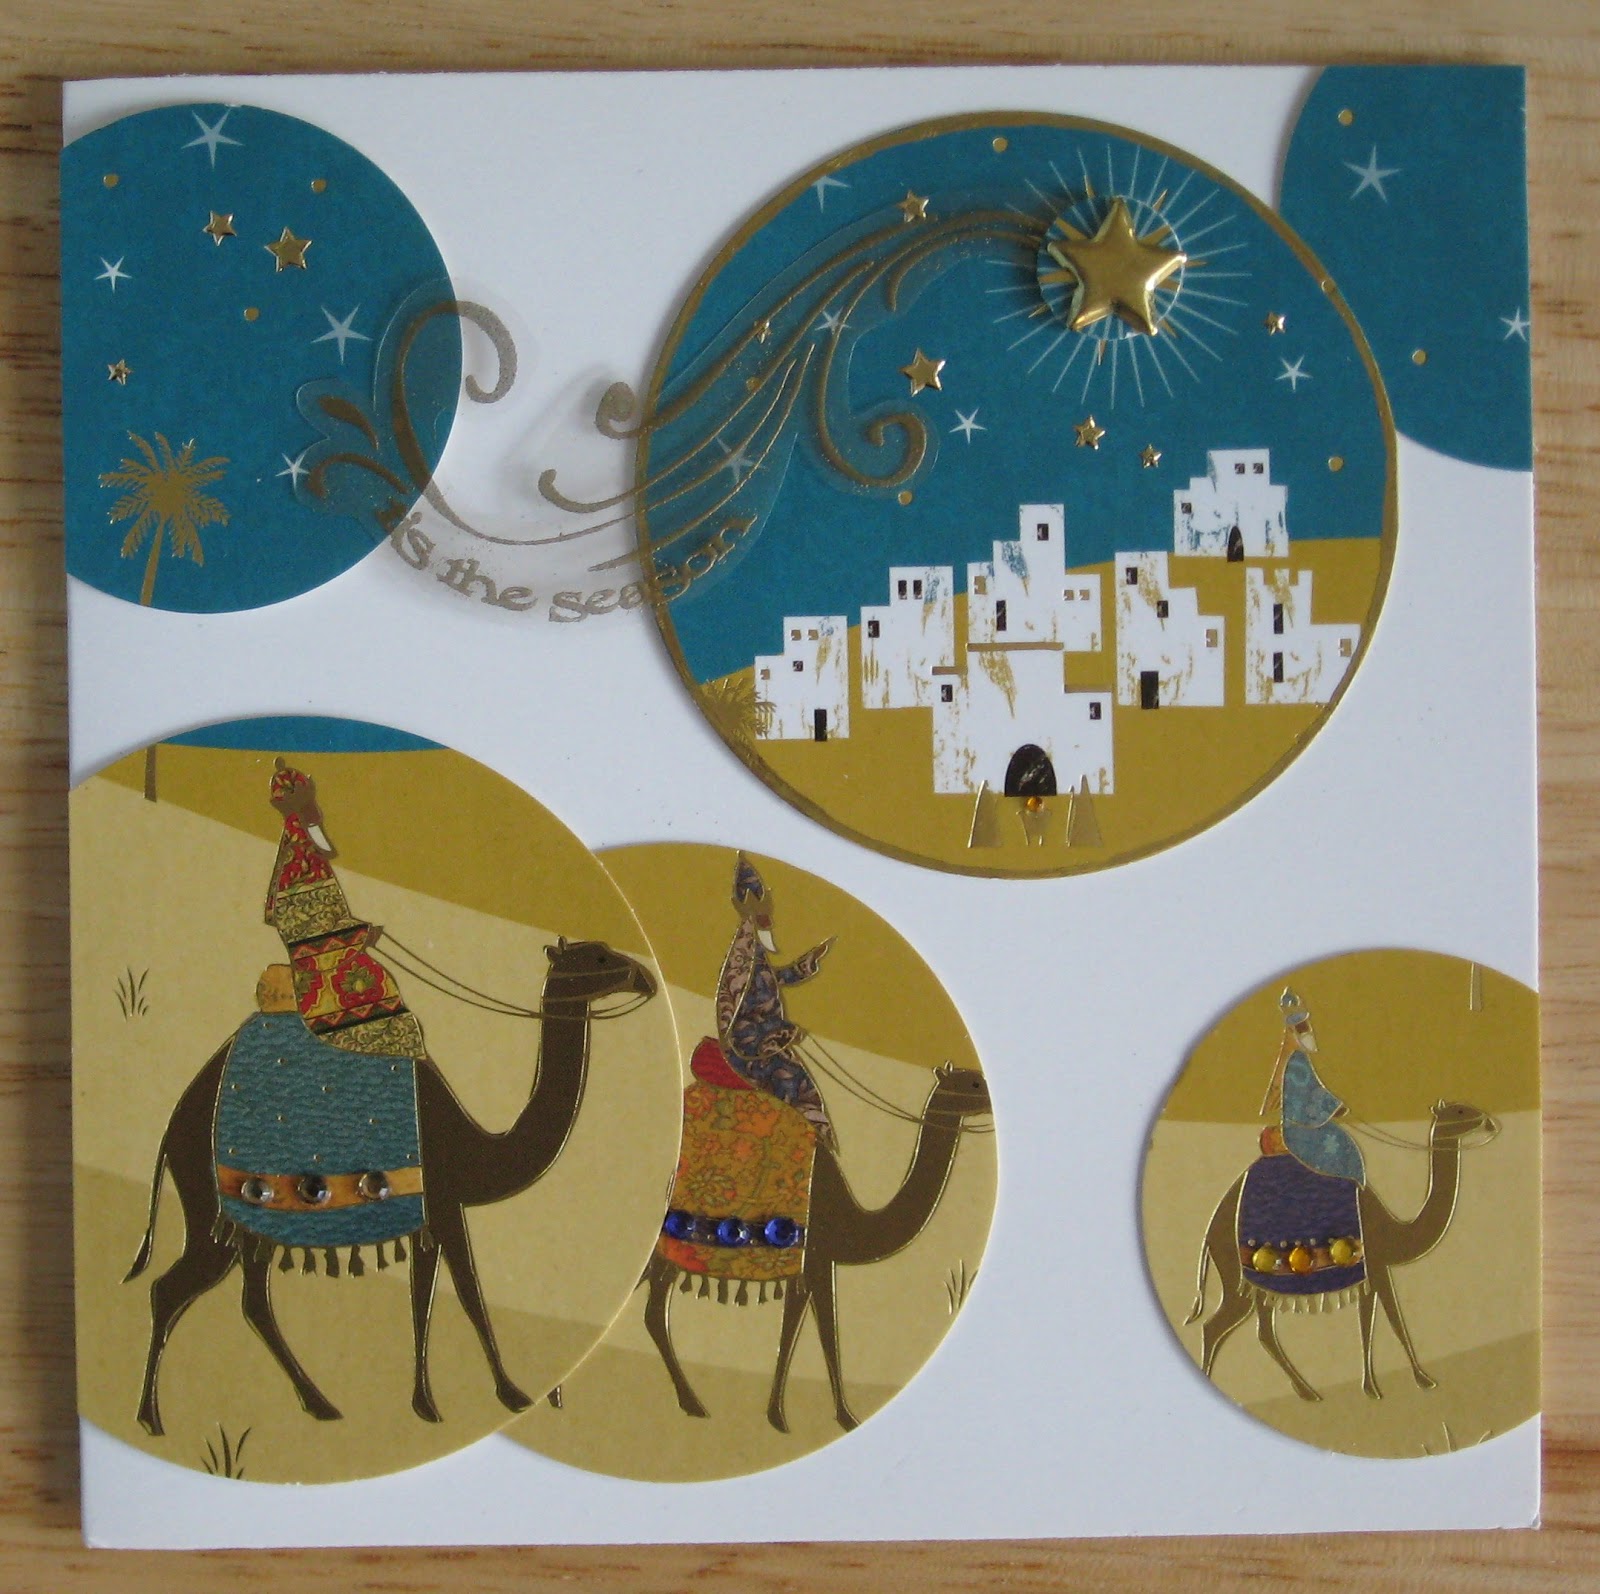
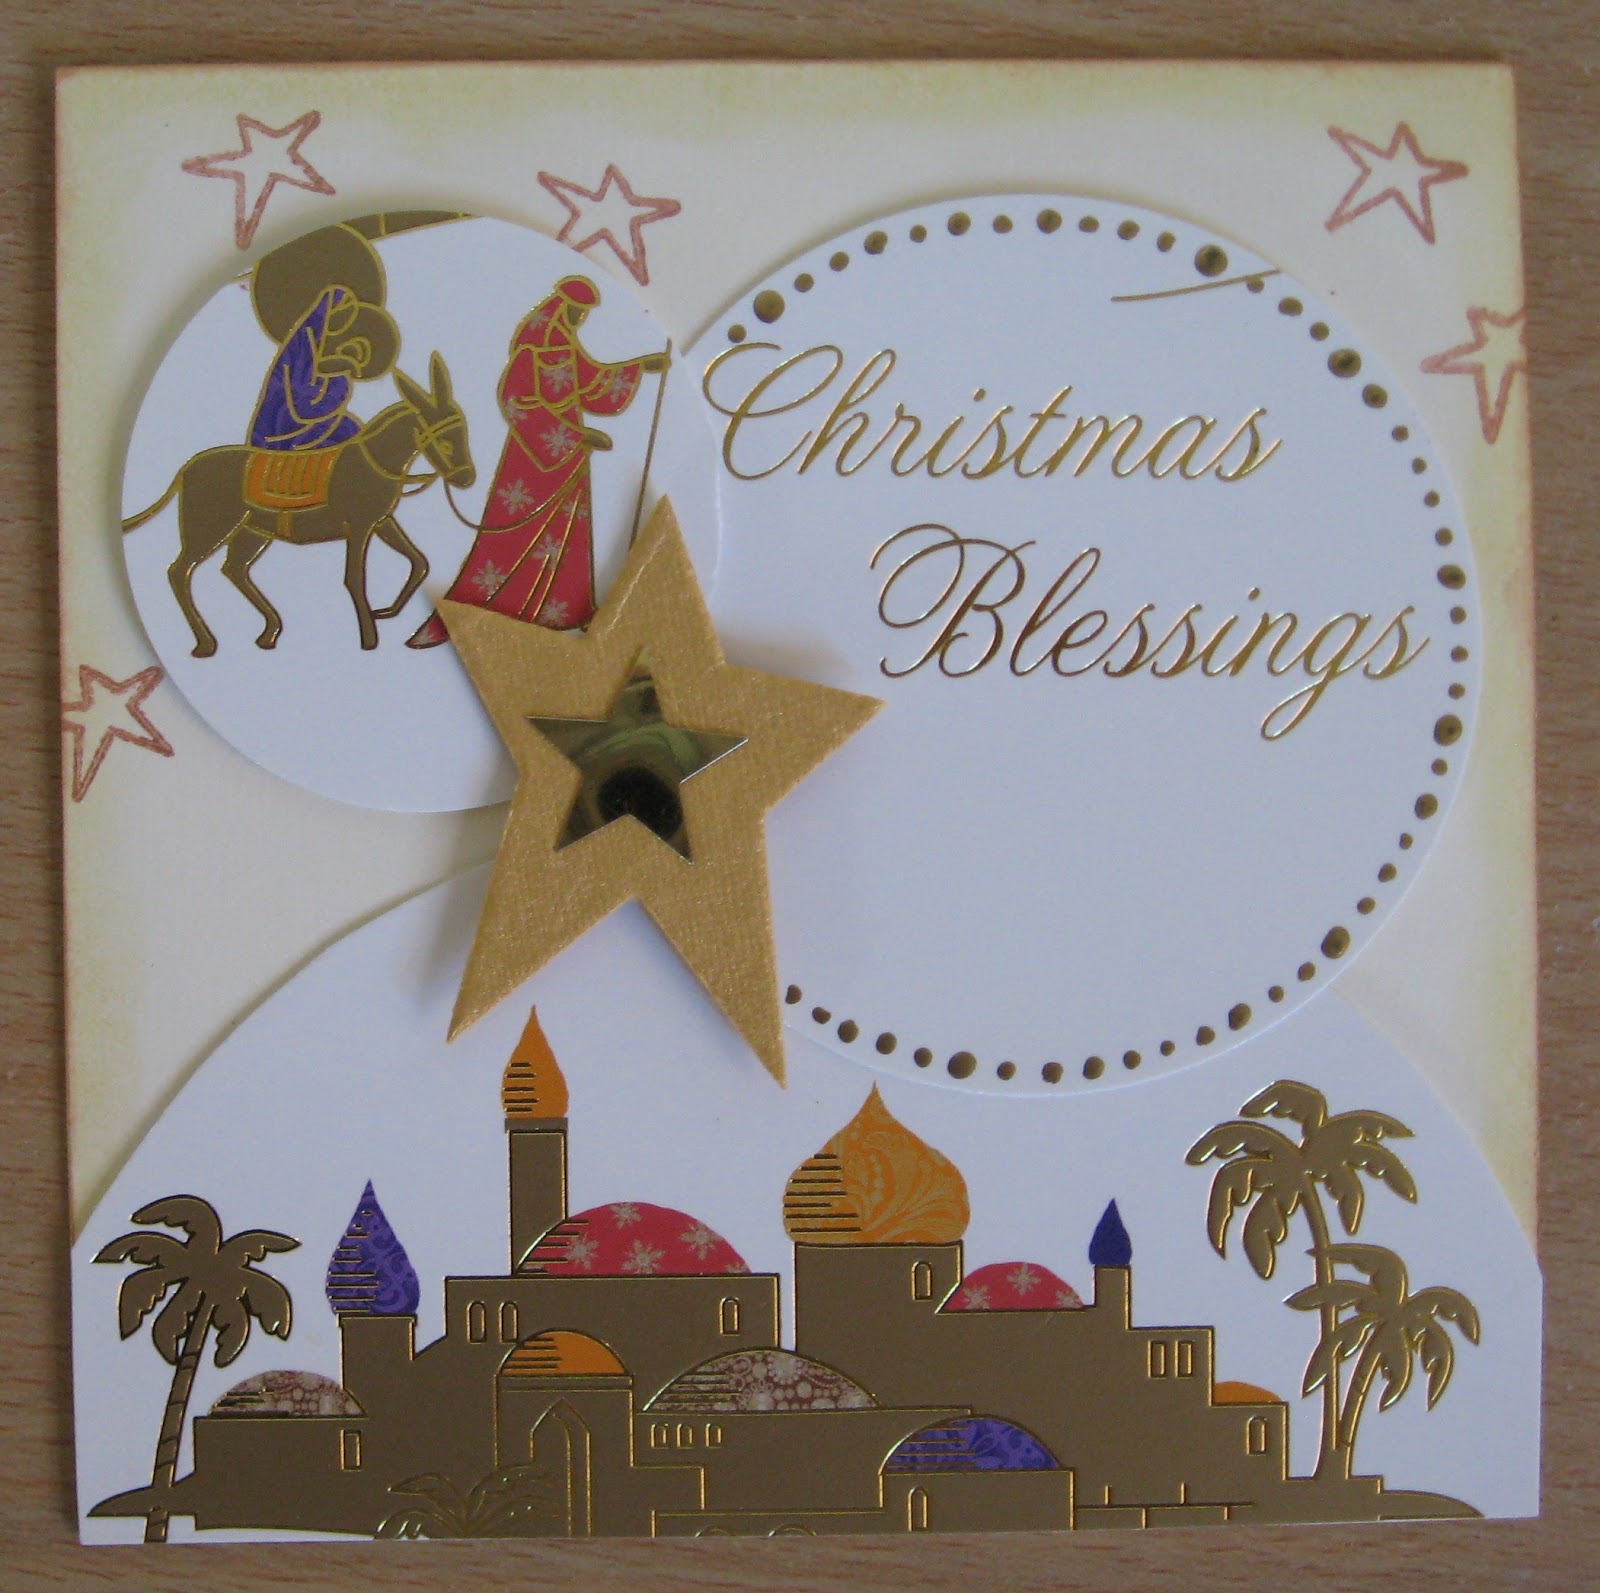
Today I'm here to share my tips for how to recycle last years Christmas cards. A card with a large central image is simple to cut out like a tree or snowman and use it on a card or layout. However, it is not always easy to use cards because the images overlap or are too detailed and aren’t suitable to be hand cut with scissors. For cards with scenes, these ideas work well.

I have three strategies: circles, strips, or mosaic tiles.

1. Circles- I use circle punches to selectively punch out parts of the card. I typically use a 2in, 2.5in, & 3in punch. It is ok to only punch a partial circle because images that go off the edge can look effective. You will notice there are many partial circles.

 2. Strips- Cut the image into vertical slices. I find the most important focal point in the image and cut it wider than the others. When you reassemble the image, leave 1 cm space between each strip. I recommend keeping faces whole and not to slice through them if possible. For a variation, you can tear the edges or use decorative edge scissors.

3. Mosaic Tile- I cut the image into various shapes or rectangles. Cut the focal point larger or a different shape than the rest and mount it with foam tape to emphasize it. Reassemble the image leaving 1 cm of space between the pieces to create the tiled effect.  It will make cutting the image easier if you hold the card up to a window or light box and make pencils lines on the back side of the card to guide your cutting.


Finally, embellish the images with gems,  ribbons, gel pen detailing, sentiment, or rubber stamp a background

Here is the store bought greeting card I began with.       Here is the transformation into a handmade creation.

This Christmas ornament card combined 2 store bought cards.

One More Inspiration:

I hope you will see cards you get this year as potential to be next years cards you send.
Have fun recycling & happy crafting!

(Bonus Tip: Cutting an image from a card into a tag shape is always quick & effective.)

Monday, 12 November 2012

Cards Using Fabric


I used fabric to make bunting and re-purposed denim for the background. I used a sewing machine to assemble the fabric to the card for a quaint country look.

A couple more cute bunting cards to show you the possibilities with small fabric scraps.


Sunday, 11 November 2012

Practical Scrappers Design Team Call

Practical Scrappers are having a design team call for the January 2013-June 2013 term.  Practical Scrappers has been an online source of inspiration for 3 1/2 years and has been a jumping off point for many great designers (just check out the credentials on our designers extraordinaire page). Members of our team have the opportunity for great exposure of their projects as well as a chance to get to know a lot of other talented designers.

We will actually be assembling three teams:
On Trend Monday Team:  This team will focus on trendier topics, tools, etc.  Cards and layouts will be the primary focus.
Ten Things Tuesday:  This team will focus on bringing fresh and creative ideas to our readers thru our Ten Things article.
Specialty Team:  This team will focus on our regular Frugal Finds Feature, a new Pinterest inspired feature, tutorials, altered projects, mini albums, and individual posts.

All of these features are currently found on Practical Scrappers we are just asking our team to zone in on their specialty more.  If you are unfamiliar with any of them, I encourage you to just look thru the blog.  Whichever team you are chosen for will be your primary focus although we may occasionally ask you for help on others.

Design Team members are expected to contribute three projects a month.

How to Apply:
1: Send an email to practicalscrappers@gmail.com with the subject: DT Application 2013
2: Send your name, what state or country you live in, your blog address, and a brief paragraph about yourself.
3: Identify which of the three teams listed above you are interested in applying for.  If you are interested in more than one please rank accordingly.

Deadline to Apply is November 15th at midnight EST. 
We look forward to your applications!

Monday, 5 November 2012

Multiple Stamps

Todays Practical Scrappers challenge was to create a project with at least 2 stamps. I used 3 to complete my card. The sentiment was stamped. The central daisy image was stamped on different colored cardstock & cut out. Finally, the background was created by repeatedly stamping a leafy vine stamp and twisting it each time at a new angle before it was stamped. TIP: make sure some images go off the edge of the page when creating a stamped background paper.

Wednesday, 31 October 2012

Halloween Kitty Cards

Do you need last minute Halloween inspiration? I used alcohol inks to create the background papers for these cards and the cutest little retro kitty stamp was embossed with black sparkle powder. Simple & Sweet!


Monday, 29 October 2012

Layout Using Fabric


The PS design team is sharing different ways to incorporate fabric into paper-crafting projects.  Today I’m sharing how I used the frayed selvedge edge of fabric that would usually be discarded as a fringe trim around the matting. Also, I transformed a pantyhose anklet stocking into a rose embellishment. (freebies you get from shoe stores if you don’t have socks and want to try shoes on) Hop on over to Practical Scrappers to see what inventive ways the girls are using fabric. 

Wednesday, 24 October 2012

Halloween Forest Cards

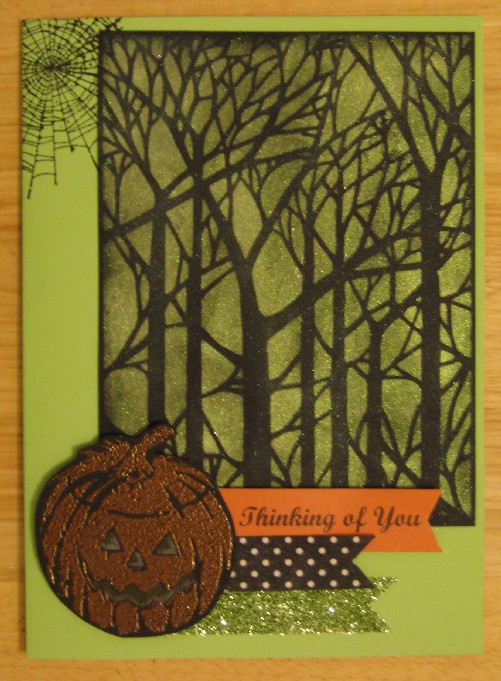
The trees were created using a metal stencil. On two of the cards I used Ranger dauber paints to make autumn leaves. (silver, copper, & gold) The other card was made using Perfect Pearls Powder to create an eerie glow. I stamped two pumpkins on black card and embossed them with copper powder. For the third card, I used Brilliance Ink (copper) to stamp the pumpkin and then used a permanent orange marker to add the highlights and shading. I couldn't pass up the opportunity to hang some washi tape bunting from the branches.


Saturday, 20 October 2012

Fabric Pumpkin Table Decoration

I’ve seen fabric pumpkins numerous times in magazines over the years so I can’t take any credit for coming up with this idea. It was something that has been on my “must try this someday list” and I finally had the right fabrics. All the magic happens after you stuff it and wrap it to give it distinct sections. I made little yo yo flowers and used jute to attach some leaves.
TIP: My best advice for this project is to over stuff your pumpkin way more than you think and make sure you pull the twine very tight and knot it as you go.


Monday, 15 October 2012

Banner Layout


I fell in love with the mustard and cranberry background paper and it inspired me to use this new color combination on my layout. I used a row of clustered banners with softly chalked edges to embellish my vintage layout. Also, notice the paper feather I made with a piece of wire in it to give it a more natural look. Go visit the ladies at Practical Scrappers for more inspiration using banners and garlands.


Tuesday, 9 October 2012

Ribbon Embellishment


I used organza ribbon to tie a faux bow to embellish the wedding dress on my congratulations card.  I actually stamped the dress on iridescent white glitter card with permanent ink but it doesn't really pick up the glitter detail in the photo.  Visit Practical Scrappers to see what creative ways the Design Team have come up with for using ribbons.

Embellish a rubber stamped image with a ribbon accent.