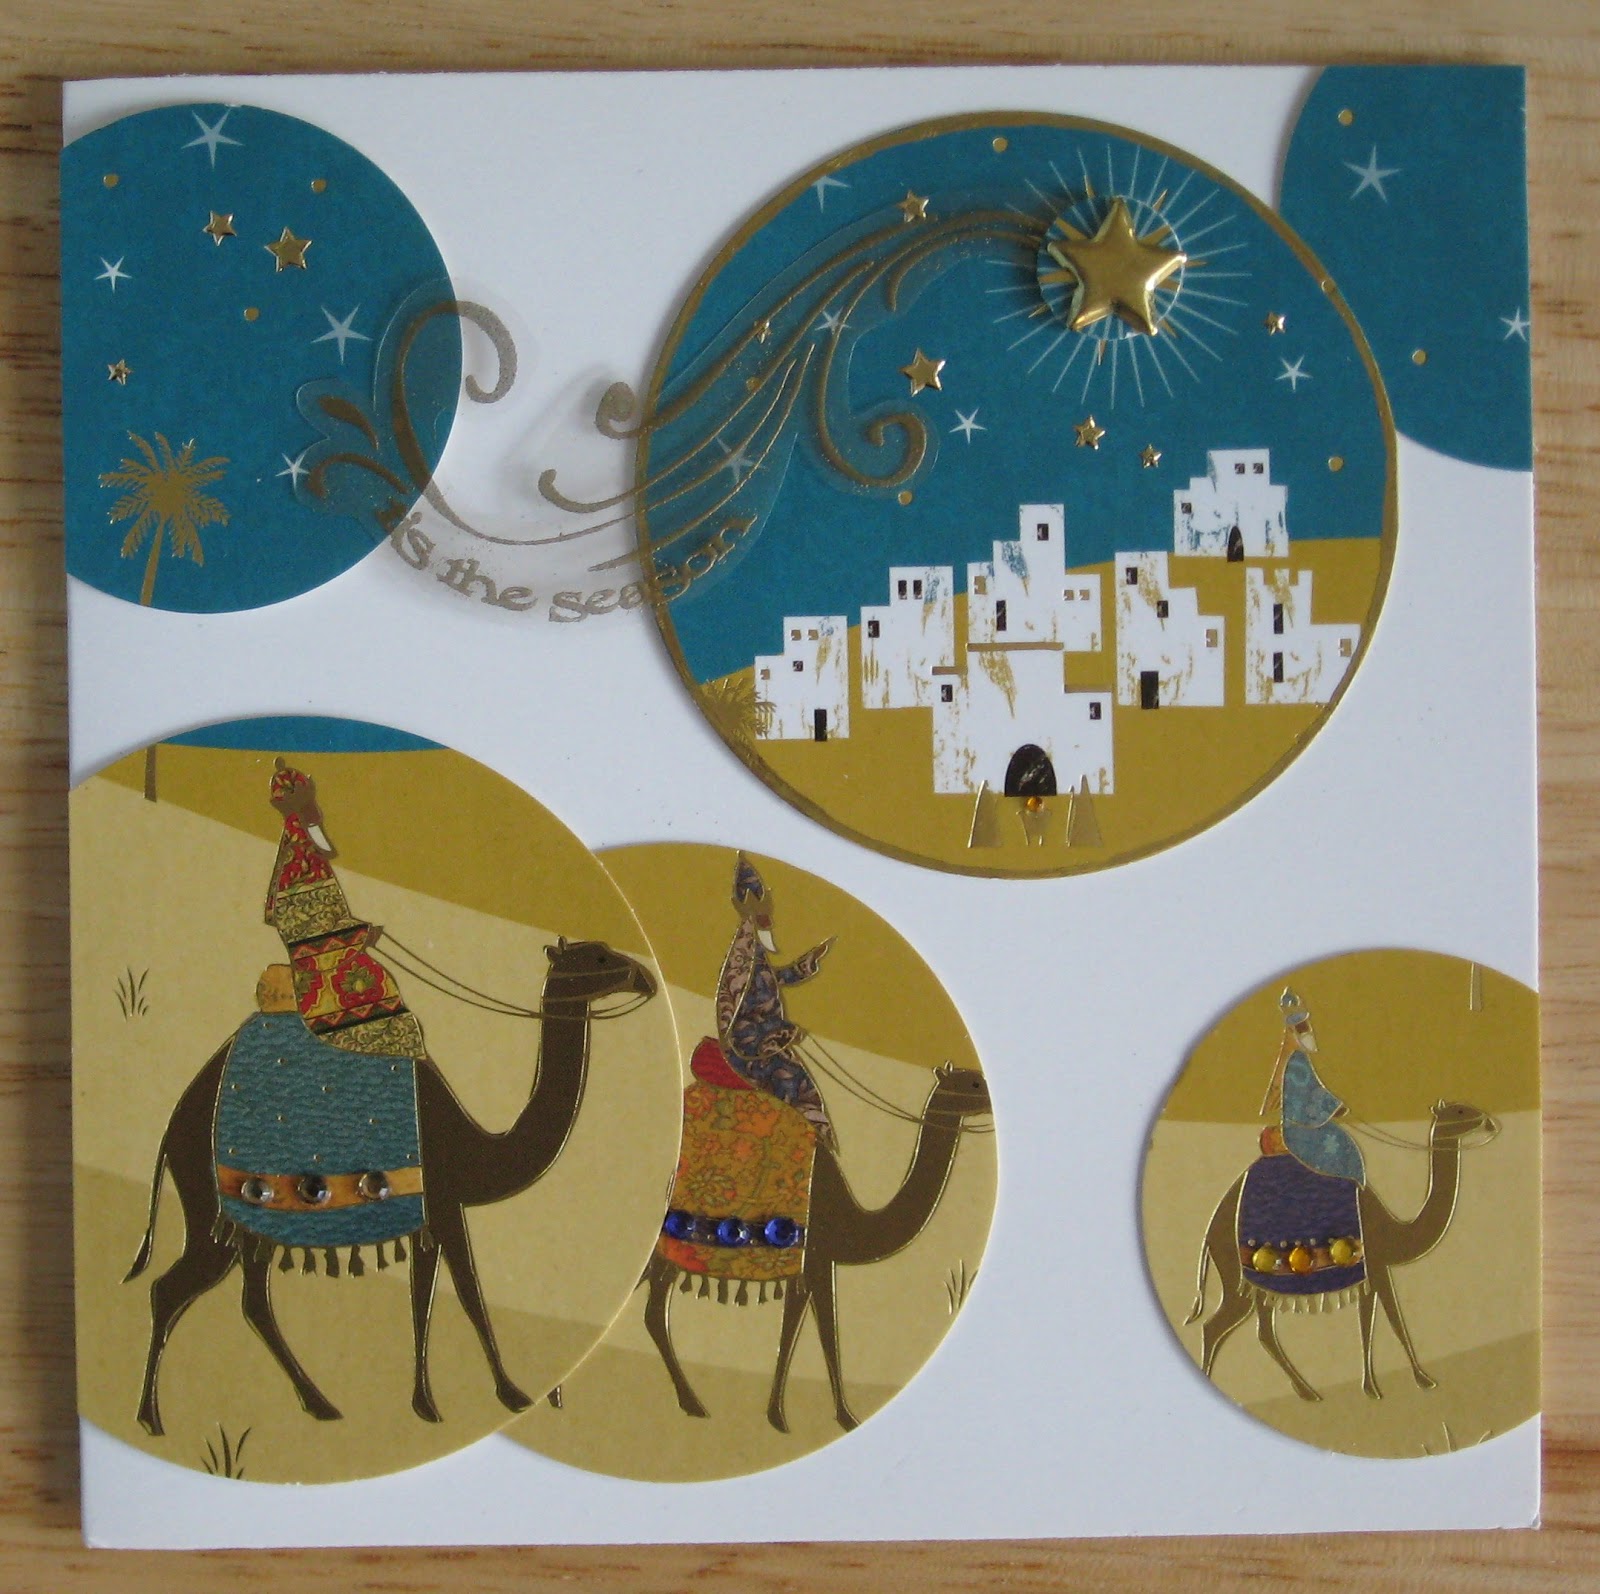
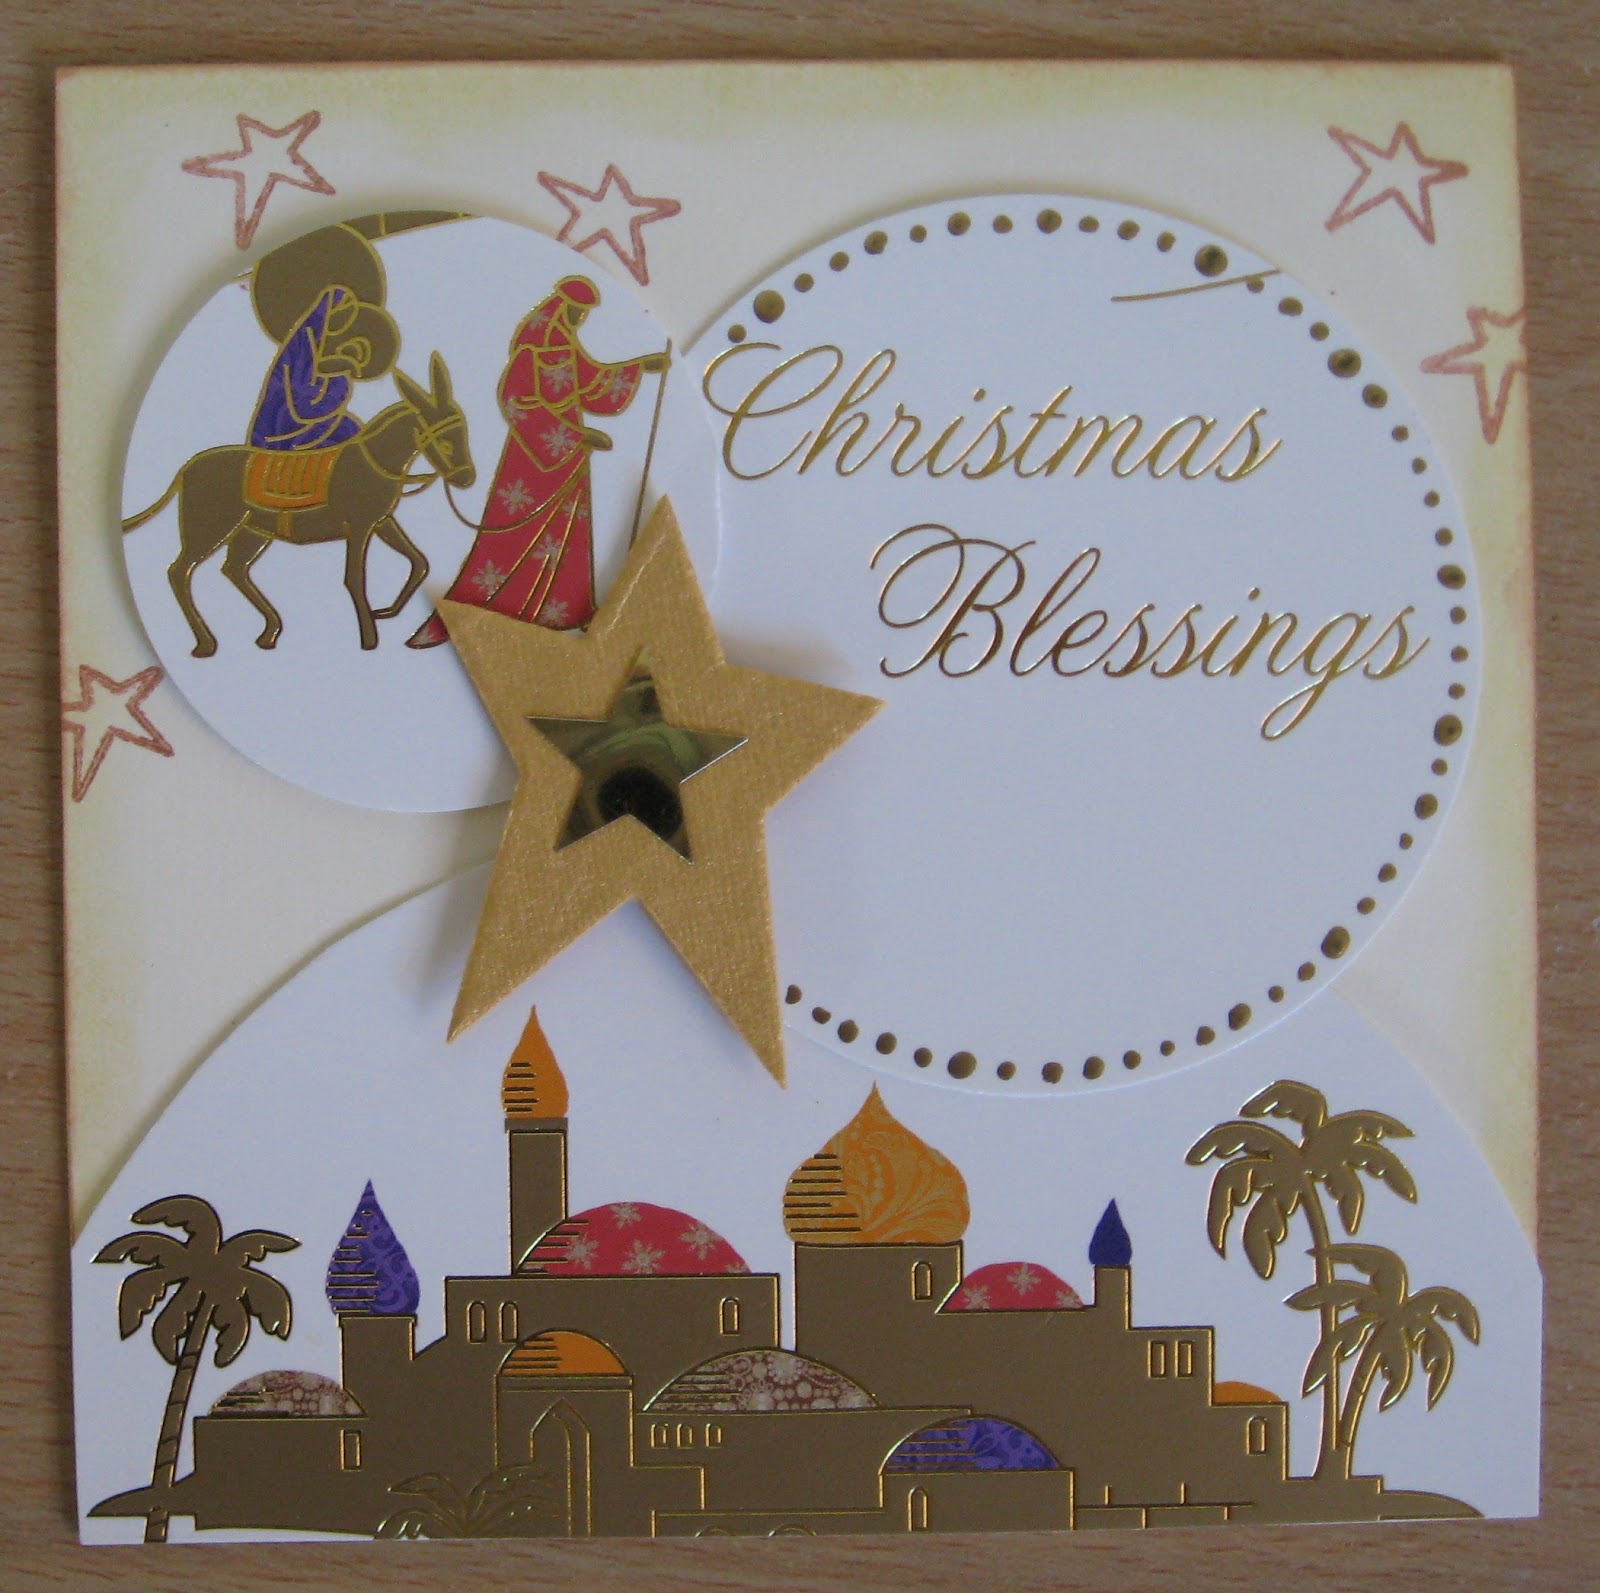
I have three strategies: circles, strips, or mosaic tiles.
1. Circles- I use circle punches to selectively punch out parts of the card. I typically use a 2in, 2.5in, & 3in punch. It is ok to only punch a partial circle because images that go off the edge can look effective. You will notice there are many partial circles.
2. Strips- Cut the image into vertical slices. I find the most important focal point in the image and cut it wider than the others. When you reassemble the image, leave 1 cm space between each strip. I recommend keeping faces whole and not to slice through them if possible. For a variation, you can tear the edges or use decorative edge scissors.
3. Mosaic Tile- I cut the image into various shapes or rectangles. Cut the focal point larger or a different shape than the rest and mount it with foam tape to emphasize it. Reassemble the image leaving 1 cm of space between the pieces to create the tiled effect. It will make cutting the image easier if you hold the card up to a window or light box and make pencils lines on the back side of the card to guide your cutting.
Finally, embellish the images with gems, ribbons, gel pen detailing, sentiment, or rubber stamp a background
Here is the store bought greeting card I began with. Here is the transformation into a handmade creation.
This Christmas ornament card combined 2 store bought cards.
One More Inspiration:
I hope you will see cards you get this year as potential to be next years cards you send.
Have fun recycling & happy crafting!
(Bonus Tip: Cutting an image from a card into a tag shape is always quick & effective.)


1 comment:
This idea is wonderful! LOVE IT! Will definitely try it.
Post a Comment