Friday, 31 August 2012
Rosette Tutorial
Directions for making a rosette:
1. Stick a strip of washi tape onto copy paper 8 in long and then cut out.(not cardstock)
2. Fold concertina style in the smallest folds possible 1/2 cm.
3. Attach ends of the strip together.
4. Cut a circle from scrap card smaller than the rosette to be used as the base.
5. Flatten the rosette and use a hot glue gun to attach it to the circle base.
6. Add a button, brad, pearl, or rhinestone to decorate the center.
TIP: Put 2 strips of different washi tapes next to each other for a larger rosette.
Tuesday, 28 August 2012
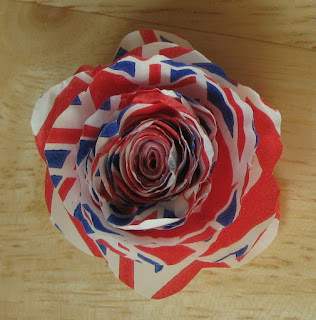
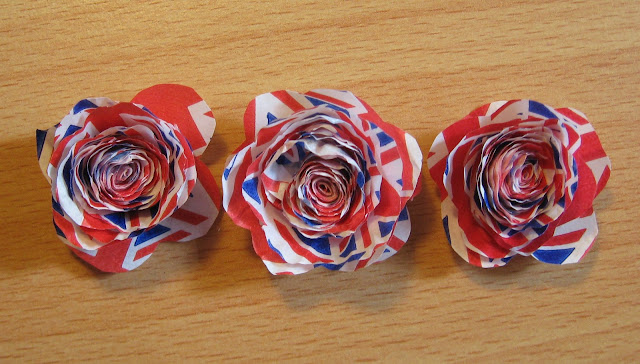
Washi Tape Rosette
I used Washi Tape to make rosette embellishments.
Visit Practical Scrappers for other inspiring ideas with Washi Tape.
Friday, 24 August 2012
Saturday, 18 August 2012
Cupcake Paper Liner Roses
Directions:
1. Cut the cupcake liner into a spiral leaving a 1 inch
circle when you get to the center.
Cut a scallop or wavy edge since these will be your petals.
2. Insert the end into a quilling tool and begin rotating it. Roll the patterned side into the center so
the plain side of the liner is on the outside.
3. When you’ve rolled it completely remove the quilling tool
and let the flower unwind a bit to loosen the flower until you are happy with
the fullness.
4. Apply a sticky dot to the circle at the center of the
liner and press the bottom of the flower petals to it.
5. Don’t be afraid to fluff and bend the petals to give it a
more natural look. Tah Dahhhh!
TIP: Look out for fun patterned cupcake paper liners like polka
dots and animal prints.
Friday, 17 August 2012
Thursday, 16 August 2012
LOVE is in the Air
Here is my layout inspired by a sketch at challenge blog Sketchbook 365. I love the little man & woman stamps. They look like the symbol you see on the restroom sign doors but with more pizzazz. The tiny couple was made with Shrink Plastic.
Saturday, 11 August 2012
Bunting Flags
Well, I missed the Queens Diamond Jubilee and I missed 4th of July but I didn’t miss the Olympics so I feel relieved that I have finally finished my red, white, and blue bunting. It hangs on the staircase banister. I embellished with clusters of buttons, ruffles, and bows. At the last minute, I decided to make some patchwork style bunting flags and I’m thrilled with them.
Monday, 6 August 2012
Yo Yo Flowers
My layout for Practical Scrappers features ways to use tags. I used my tag for some hidden journaling and discreetly slid it behind the central photo. I just love how my yo yo flowers turned out. They are so simple to make; just cut a fabric circle 2-3 inches and sew a basting stitch along the outer edge, pull the thread to gather the fabric, and then flatten it and knot off the thread. I must make more of these.
Sunday, 5 August 2012
Practical Scrappers
Practical Scrappers Design Team features creative ways to use tags on a project. Don’t miss it; I have a scrapbook layout tomorrow, August 6!
Saturday, 4 August 2012
Layouts with Stitching
I was very brave and used the sewing machine on paper! I’m thrilled with these 2 layouts. To sew the circle and heart shapes, I cut both from acetate. I determined where I wanted it on the layout and then I carefully held it in place and used it as a guide to sew around it multiple times. You could do this with any simple shape. FYI if you plan to sew on a layout, don’t sew through the double sided tape it gets the needle sticky.
Friday, 3 August 2012
Little Owl
Even though this isn’t paper crafting, I just had to share my little owl project. He could a pin cushion but I just have him sit on my shelf. I used denim, fabric scraps, 2 yo yo, and a few buttons. My owl is about 5 inches tall but you could make one in any size and they would be adorable.
Thursday, 2 August 2012
Practical Scrappers
I was oh so delighted to be chosen as a member for the new Design Team at Practical Scrappers. I am in the company of an extremely talented group of ladies. I have just completed my first month working with Practical Scrappers. I will have 3 projects featured each month. Come have a peek at their amazing layouts, projects, and crafty secrets. Here are my scrapbook layouts for Practical Scrappers featuring how to creatively use pins (July 23) and ways to use a black pen. (July 24)
Wednesday, 1 August 2012
Welcome
Welcome to my little crafty blog. My passions are papercrafting usually card making and scrapbooking. My creative style is sophisticated, artsy, girly, and full of textures. I love to embellish with layers and so my creations are full of flowers, ribbons, buttons, charms, stamping, stitches, & bling. I do adventure into the world of sewing occasionally but mostly I create with paper. Don't forget to leave me a message so I can drop by your blog sometime. Enjoy your visit!
Subscribe to:
Comments (Atom)


