Monday, 23 January 2017

a2z Scrapbooking - January Challenge - card 1

          
a2zscrapbooking January Challenge "Anything Goes"
  The new challenge this month is simple “Anything Goes” All you have to do is use any Hero Arts product on your project.
You can find all the rules HERE.

I'm also joining the stamp challenge at Simon Says Stamp Wednesday Challenge Blog.You can find all the rules HERE.

I'm also joining the Time Out Challenge.
You can find all the rules HERE.

I'm also joining Card Mania Challenge. (#88 Layer It)
You can find all the rules HERE.
I created the background with Gelatos and lots of patience to watch the drips.  I worked with one color at a time to control the direction and length of the drip.  I embossed the small flower and fussy cut it to give the petals more dimension.  Finally, I finished off the card with a large gem (secret confession...it was an earring in another life that lost its mate and was rolling around in my stash for years.)

A Closer Look:


                                      Newsprint Flower Cling Stamp (Hero Arts)
                                              
Other Supplies: Gelatos (Faber-Castell),  Black Embossing Powder (Stampendous), Heat Gun (Ranger), Archival Jet Black Ink Pad (Ranger), Inhale Exhale Art Stamp Sheet Set (Sin City Stamps), black gem

Please be sure that your project contains at least one main Hero Arts product as the focal element.  You have until the last day of January to enter your project.  By entering you will have a chance to win a $25 Gift Certificate to the a2z Scrapbooking Store. One lucky winner will be announced on the 7th of February!

Saturday, 21 January 2017

Rubber Dance January Stamp Challenge - card 3

 
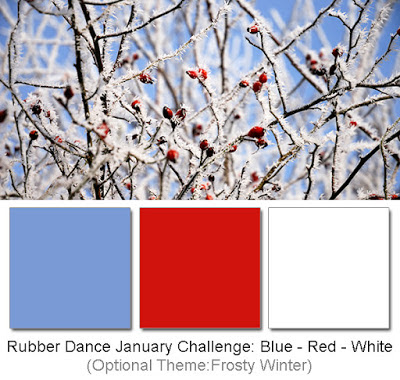
I just love the colors for this months challenge at Rubber Dance
and there is still time to enter.  Deadline: January 31

https://rubberdance.blogspot.co.uk/search/label/currentchallenge
        Find out all the details HERE.
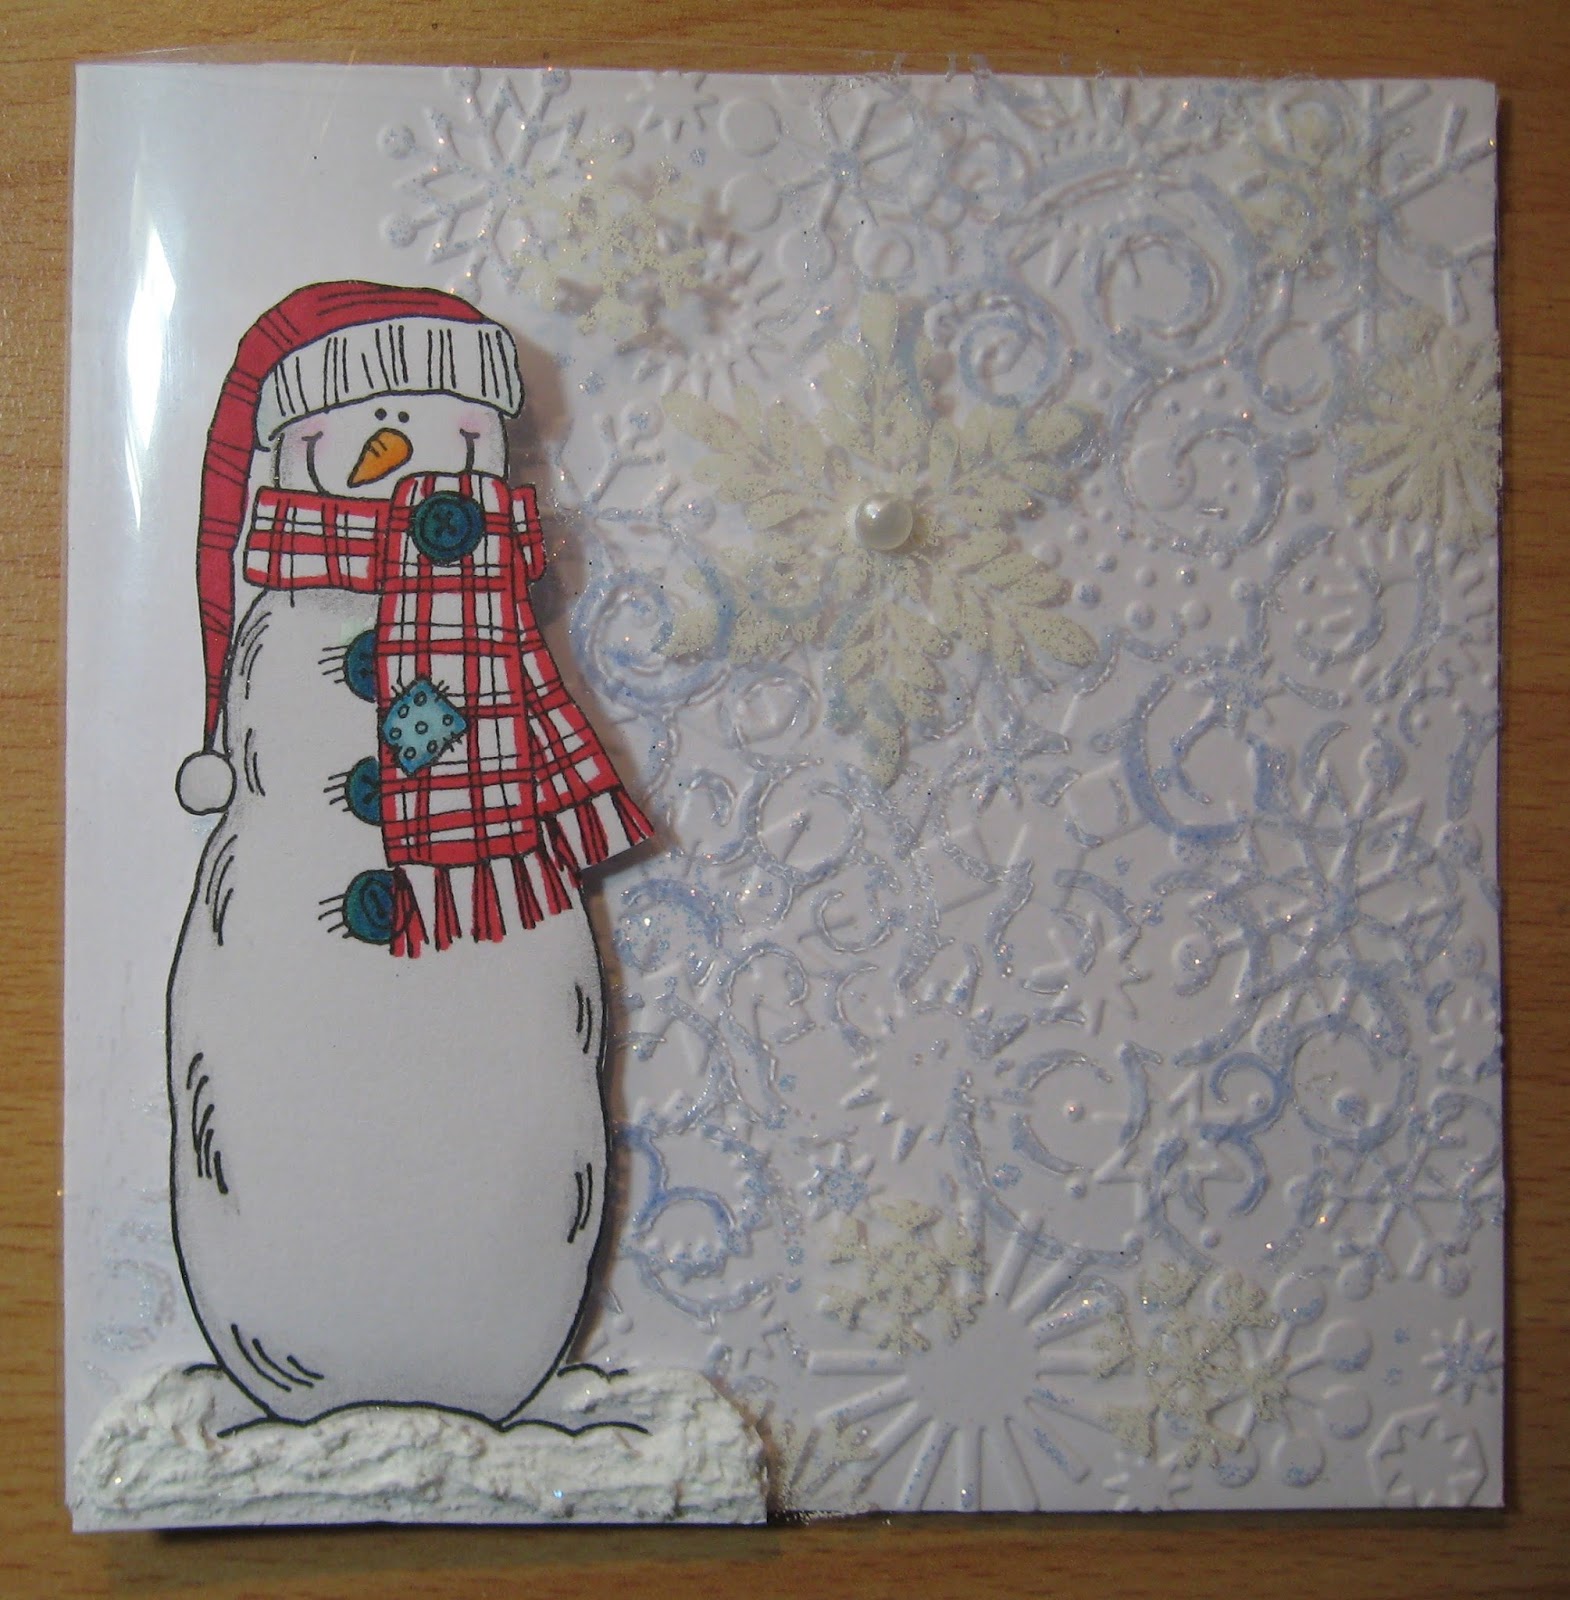
Create the winter background by stamping Grunge Swirls (Rubber Dance) stamp randomly onto a piece of transparency with watermark ink.  Next, add blue translucent embossing powder and heat set. Then turn over the transparency and stamp various size snowflakes and heat set with white embossing powder.
 

Pressure emboss on a white cardbase with a snowflake design & embellish with glitter glue.
Stamp and color a snowman. Attach the snowman to the snowflake transparency and fold the excess overhanging transparency over the fold of the cardbase and adhere it to the backside.  Lastly, add a gem and apply texture paint at the base of the snowman as a pile of snow.
                         
Supplies: Grunge Swirl Stamp(Rubber Dance)

http://www.rubberdance.com/SearchResults.asp?Search=grunge+swir&Submit=

A Closer Look:


Rubber Dance January Stamp Challenge

CHA - Rinea

Rinea has a booth at CHA. Between January 21-23 you can visit them in Pheonix, AZ at booth #735.


                      Hard at work making snowflake decorations for the booth.
                      

Friday, 20 January 2017

Rubber Dance January Stamp Challenge

I just love the colors for this months challenge at Rubber Dance
and there is still time to enter.  Deadline: January 31

https://rubberdance.blogspot.co.uk/search/label/currentchallenge
                                                Find out all the details HERE.
My second card was made be tearing strips to create a flag like background.  The lasso made of baker's twine give it a hint of wild west flavor.

Rubber Dance January Stamp Challenge

Wednesday, 18 January 2017

Carefree & Fearless Card - Sin City Design Team

Today is my first blog post for Sin City Stamps and I'm thrilled to have been invited to share their products with you. To complete my nature inspired friendship card, my project incorporates three different Sin City Stamp Sets. The sweet little bird and sentiment stamp of hope were perfect to create my encouragement card.
I hope you will join me at the Sin City Blog where you will find the complete tutorial.

I'm also joining the Inspirational Challenge.
You can find all the rules HERE.

A Sneak Peek:https://sincity-stamps.blogspot.co.uk/2017/01/carefree-fearless-card.html
                                                               You can find the complete tutorial HERE.

Supplies: 
1. Art Journaling #2 Rubber Stamp Set sc24 (Sin City Stamps)
2. Flower & Bird Sketches Art Rubber Stamp Sheet Set sc97 (Sin City Stamps)
3. Inhale...Exhale Art Stamp Sheet Set SC87 (Sin City Stamps)
4. white cardstock
5. black & brown ink pads
6. green & copper mists
7. white gel pen
8. chalk
9. card base (5x7")
10. embellishments: paper doily & burlap leaf die cut


To purchase the stamp supplies used in this project please visit www.sincitystamps.com
For more inspiring paper-craft projects from the Design Team, be sure to follow us on Facebook

Thanks for visiting!

Sunday, 15 January 2017

Snowman Card - The Robin's Nest

Today I am sharing a video tutorial about creating a card using The Robin's Nest Winter Retreat Glitter Swirl Cardstock & snowflake embellishments.  The color pallet includes aqua blue with tan & chocolate brown with delicate flourish designs. I used Archival Seeds to embellish the card and they were just the perfect finishing touch. They are made of paper and therefore, they are very light and have a matte finish.  Each package contains various size domes; some are solid and some have small prints with a hint of glitter.  Wherever, you like to use bling, buttons, or brads, Archival Seeds are a more subtle and discrete option.  I look forward to using these more often in my projects. 
YouTube Video: HERE


Other Supplies: wooden snowflakes, Stazon White Ink Pad (Tsukineko), card base 5x7"

A Closer Look:

To purchase the supplies needed for this cute snowman card, visit The Robin's Nest

For more inspiring paper-craft projects from the Design Team, be sure to visit us at

Tuesday, 10 January 2017

Stamping on Paper Foil - Rinea Design Team

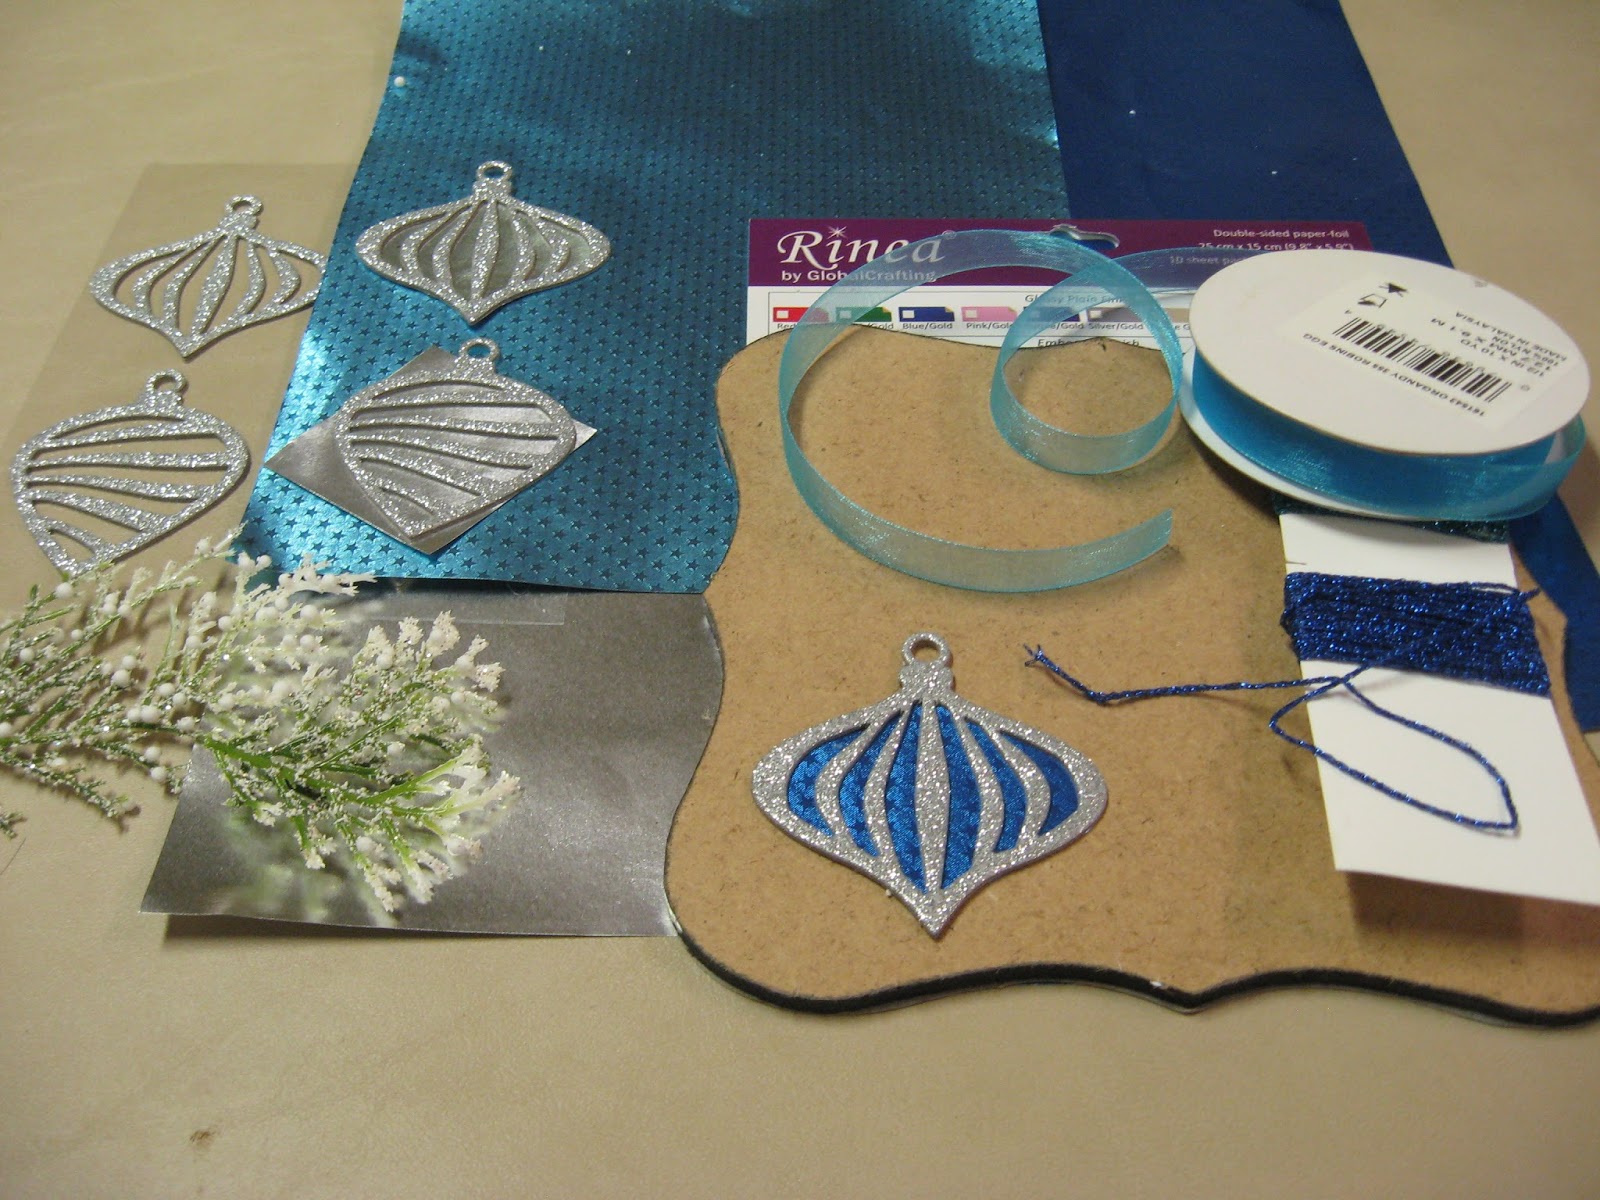
This is my project using Rinea paper foil.  I used light blue embossed metallic paper foil and stamped a variety of snowflakes randomly across the page. Then I added embossing powder and heat set. Lastly, I used blue and silver paper foil to back the chipboard ornaments.  

Rinea Supplies:
Crafters Glossy Pack: Rinea Paper-Foil 10-Pack 15cm x 25cm (Silver)
Crafters Embossed Pack: Rinea Paper-Foil 10-Pack 23cm x 33cm (Blue & Lt. Blue)

Other Supplies:
double sided tape, chipboard ornaments, pine foliage, snowflake rubber stamps, Perfect Medium ink (Ranger), Platinum Planet Brilliance Ink Pad (Tsukineko, )white & silver glitter embossing powder, Heat Gun (Ranger), blue thread, organza ribbon, Dew Drop Gems (The Robin's Nest)

Here is the foil after it has been embossed with white & silver glitter snowflakes. Notice, that I inked the edges with Platinum Planet ink to create a frosty finish.

Embellish:  Attach chipboard ornaments onto foil & fussy cut.  Adhere snowy pine foliage across the top and add three snowflake stickers.

Next, add a scattering of transparent Dew Drop gems.

Lastly, use blue thread to hang the ornaments creating kinetic elements.

It was very easy to stamp and emboss onto the paper foil which creates lovely depth & layers.  I was so pleased with the result and look forward to stamping on paper foil for more projects in the future.
Thanks for stopping by!